 WidgetCraftGet the app
Guide
How to make a photo widget on Android
Add an image element, pick your photo, set the crop so the subject is centered, round the corners and place the widget on your home screen.
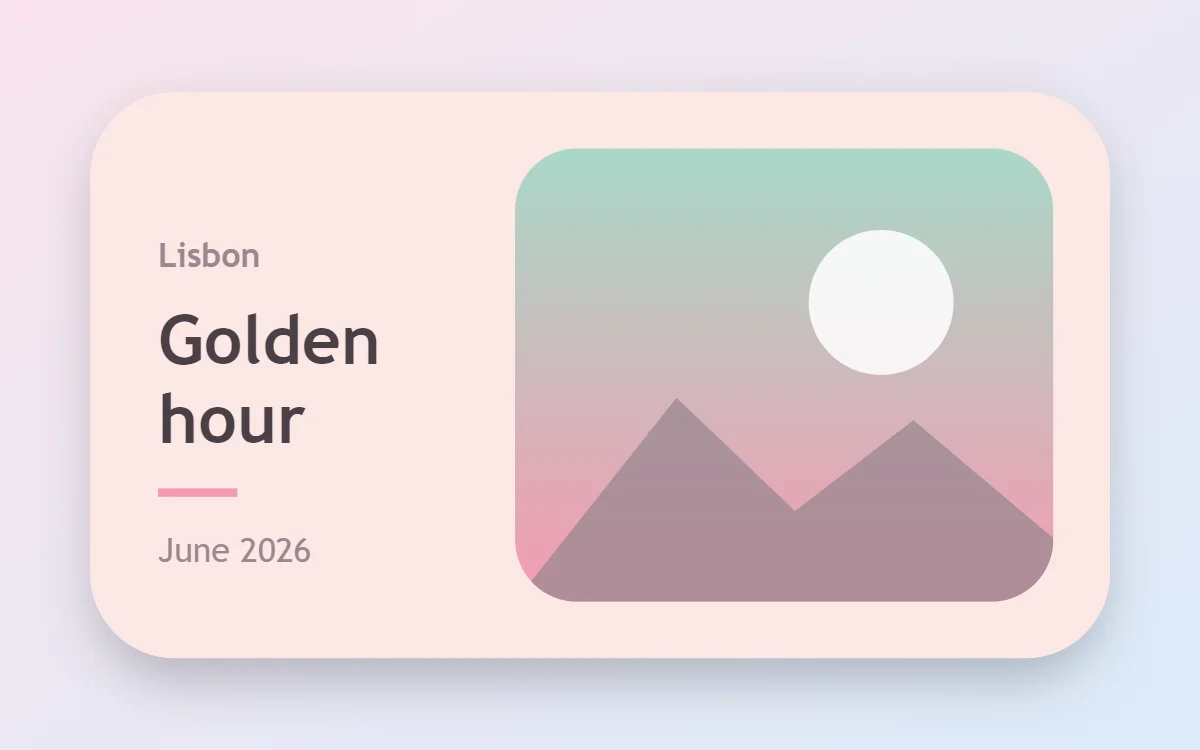
Steps in WidgetCraft
- Tap Create widget. Choose 200 × 200 for a square photo or 360 × 200 for a photo with a caption beside it.
- Tap Add and choose Image, then pick a picture. Android's photo picker opens, so the app needs no access to your whole gallery.
- Set the fit to fill the frame, then drag the crop until the subject sits in the middle.
- Set the corner radius, or choose a mask such as a circle or an arch.
- Optionally add a Text caption and a date.
- Tap Save, then Add to home screen.
Choosing a photo that works
- Pick a picture with the subject near the center; edges are cropped.
- Portrait photos suit square and tall widgets; landscape photos suit wide ones.
- Simple backgrounds read better at small sizes.
- Slightly brighter photos hold up better on a home screen.
Frames and masks
A plain rounded rectangle suits most styles. A circle works for portraits and pets. An arch gives a soft, boho look. Add a thin outline or a border in a color from your palette to separate the photo from a busy wallpaper.
Adjusting the photo
Brightness, contrast and saturation can be changed per image. Lowering saturation slightly helps a photo sit with muted widgets; a black-and-white photo suits monochrome and brutalist styles.
Privacy
The photo stays on your phone. It is stored inside the widget and is not uploaded.
Questions
Can the widget show a slideshow?
Not automatically. Each widget shows the photo you chose; you can change it at any time.
Will a large photo slow the widget?
The app resizes large photos when you add them.
Is the photo widget free?
Yes.